How to Make a Paper Airplane: Simple Steps for Beginners

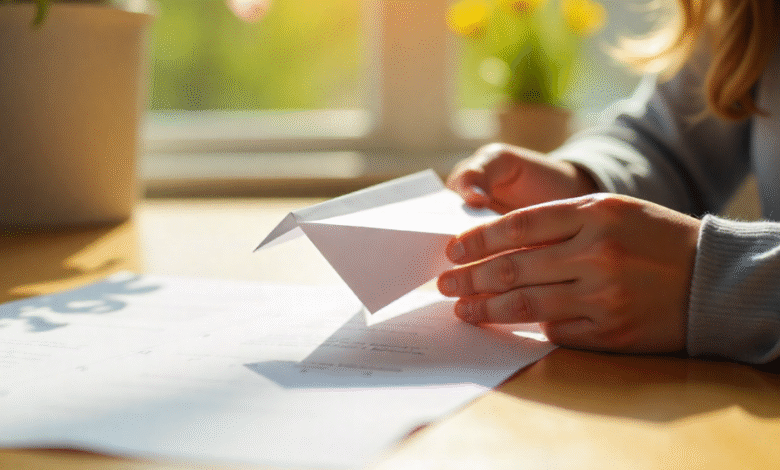
How to Make a Paper Airplane is one of the most fun and easy crafts you can try at home. It only needs one sheet of paper, your hands, and a little imagination. Making a paper airplane is a perfect way to spend time indoors, enjoy with friends, or challenge yourself to see whose airplane flies the farthest. Kids love it because it’s playful, and adults enjoy it because it’s a quick way to relax. The best part is that there are so many styles to try – from fast dart planes to slow gliders. In this guide, we will walk you through the steps in a way that even a beginner can follow. So, grab a piece of paper and get ready to fold your way into a little flying adventure.
Learning how to make a paper airplane can also teach you more than just folding paper. It’s a fun lesson in creativity, patience, and even basic science. You’ll see how the shape of your airplane changes how it flies – whether it soars smoothly, spins in the air, or dives quickly. You can test different folding methods to see which one works best. And if you enjoy challenges, you can decorate your airplane, try competitions with friends, or even experiment with longer flights. With just a little practice, you’ll not only make a paper airplane that flies well but also feel proud of what you created. So let’s get started and see how your first airplane takes off!
Why Making Paper Airplanes is Fun for Everyone
Making paper airplanes is more than just folding paper. It’s about creativity, play, and learning. When you fold your paper in different ways, you can make the airplane fly fast, glide slowly, or spin in the air. Kids love seeing their planes take off, and adults can join in to create competitions for the farthest flight. Plus, making paper airplanes is a no-cost hobby you can enjoy anywhere – indoors, outdoors, at school, or even during a break at work.
Things You Need Before You Start Folding
The good news is that you don’t need much to start. Here’s what you’ll need:
- One sheet of paper – Regular A4 or letter-size works best.
- A flat surface – To make clean folds.
- Optional – Markers or stickers to decorate your plane.
Step-by-Step Guide: How to Make a Paper Airplane for Beginners
Step 1: Fold the Paper in Half
Take your sheet of paper and fold it lengthwise. Press down to make a sharp crease, then unfold it. This line will help you keep your folds even.
Step 2: Fold the Top Corners
Bring the top right corner down so it touches the center line. Do the same with the top left corner. Your paper should now look like a triangle at the top.
Step 3: Fold the Sides Again
Take the new top right edge and fold it toward the center line. Repeat on the other side. You now have a narrow point at the front.
Step 4: Fold the Plane in Half
Fold the entire paper in half along your first center crease, keeping the folds inside.
Step 5: Make the Wings
Fold down each side to make the wings. Make sure both wings are the same size for balance.
Your basic paper airplane is ready!
Folding Tips to Make Your Airplane Fly Better
- Make your folds sharp and even.
- Avoid crumpling the paper.
- Try different folding angles for the wings to change the flight style.
- Add a small upward bend at the back of the wings for better lift.
Easy Designs for Kids and Beginners
If the basic plane is too simple, you can try these easy designs:
- The Dart Plane – Long and thin for fast flights.
- The Glider Plane – Wide wings for slow, smooth flights.
- The Stunt Plane – Short and thick for fun tricks in the air.
Fun Challenges You Can Try with Your Paper Airplane
Once you know how to make a paper airplane, you can make games out of it:
- Distance Challenge – Whose plane flies the farthest?
- Target Landing – Try to land your plane in a box or circle.
- Flight Tricks – See who can make their plane loop or spin.
Common Mistakes When Making a Paper Airplane and How to Fix Them
- Plane falls quickly – Wings might be too small; fold them wider.
- Plane spins too much – Folds are uneven; check your symmetry.
- Plane doesn’t fly far – Try sharper folds and a gentle throw.
How to Make Your Paper Airplane Fly Farther and Faster
- Use smooth, stiff paper.
- Throw with a steady, controlled motion.
- Keep the nose of the plane pointed slightly upward.
- Practice different throws to see what works best.
Creative Decoration Ideas for Your Paper Airplane
Making your plane look cool is part of the fun:
- Use markers to draw windows, stripes, or patterns.
- Add stickers for a colorful look.
- Name your airplane and write it on the side.
Conclusion
Learning how to make a paper airplane is more than just a quick craft – it’s a simple way to spark creativity, have fun, and even learn a bit about flight. Whether you’re making one for the first time or perfecting your own design, the joy is in both the process and the flight. The best part? You can start anytime, anywhere, with just a piece of paper.
FAQs
Q1: What is the best type of paper for making a paper airplane?
A: Standard A4 or letter-size printer paper works best because it’s light but still holds folds well.
Q2: Can I make a paper airplane without scissors or tape?
A: Yes! Traditional paper airplanes only need folding, no cutting or gluing.
Q3: Why does my paper airplane not fly straight?
A: This usually happens if your folds are uneven or one wing is bent more than the other.


